Screen Defect Diagnosis: Is It a Dead Pixel, Stuck Pixel, Glow, or Burn-In?
If you see a strange dot, patch, or shadow on your display, use white, black, gray, and color tests to figure out whether it is a dead pixel, a stuck pixel, IPS glow, backlight bleed, or burn-in.
The HardwareTest.org Editorial Team maintains the site's browser-based diagnostics and troubleshooting guides. We verify tool interfaces and reproduction steps in current browsers, document what a browser can and cannot measure, add original screenshots, and link technical claims to primary sources.
Reproducible review
How we checked this guide
We verified the color and uniformity tool entry screens and the responsive presentation. No instrument-based luminance or color-uniformity measurement is claimed.
- Checked
- July 26, 2026
- Environment
- Desktop screenshots: Microsoft Edge 150.0.4078.83 · Windows desktop build 10.0.26200 · Desktop viewport: 1440 x 1000 · Responsive screenshots: current Chrome with a 390 x 844 viewport override

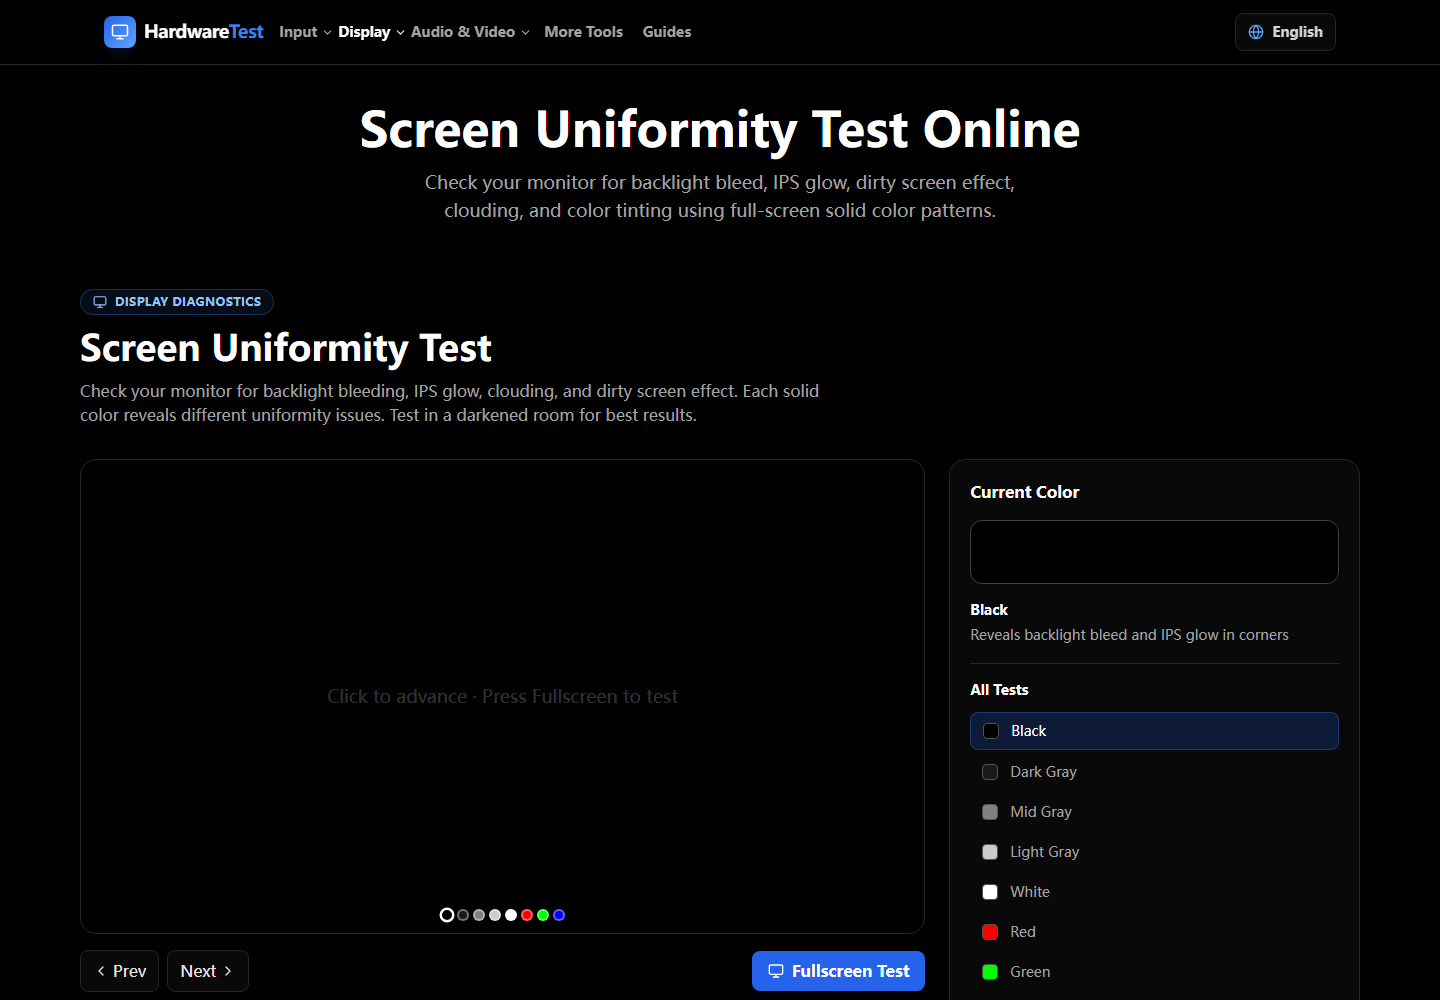
Start a screen diagnosis by changing the test pattern, viewing angle, brightness, cable, and source device. A defect that stays in the same physical location across every color and input is more likely to be in the panel. A mark that moves with a window or screenshot is more likely to be software or rendered content.
Use the Dead Pixel Test and Screen Uniformity Test as controlled backgrounds.
Five-step diagnosis
- Clean the screen with the display off and inspect for surface marks.
- Test white, black, red, green, blue, and mid-gray in full screen.
- Change brightness and view the display from the normal seating position.
- Capture a software screenshot, then view that file on another display.
- Try another cable, port, and source device if the symptom could come from the signal path.
If the defect appears in the screenshot on another display, investigate software, graphics drivers, or the source image. If it remains on the physical panel but not in the screenshot, investigate the monitor or connection.
Match the symptom to the next test
| Symptom | Useful distinction | Next step |
|---|---|---|
| One fixed dark or bright point | Pixel/subpixel defect versus dust | Follow dead versus stuck pixels |
| Edge haze that changes with viewing angle | Panel glow versus fixed light leak | Compare angle and normal room lighting |
| Fixed bright edge patch | Backlight or assembly uniformity | Document on black and gray |
| Vertical or horizontal line | Signal path, panel driver, or physical damage | Try another input and source |
| Dark detail disappears | Black-level or range configuration | Use the Black Level Test |
| Persistent tint or dirty-looking area | Color or luminance uniformity | Use gray and white uniformity screens |
Avoid false positives
Phone cameras often exaggerate dark-screen glow and introduce banding. Browser zoom, HDR tone mapping, night-light modes, and color filters can also change what a pattern looks like. Disable those only long enough to make a controlled comparison, then restore your preferred settings.
A browser cannot diagnose internal electronics or measure luminance uniformity without instruments. The useful outcome is a well-documented symptom: where it appears, which colors reveal it, whether it is visible in normal use, and whether it follows the cable or source.
Decide what to do next
For a new display, preserve the return window and contact the seller before attempting physical fixes. For a used display, compare the defect with the price and location on screen. The used monitor checklist covers the remaining ports, refresh-rate, and physical inspection steps.
Primary sources
Technical claims are checked against the following vendor or platform documentation.
- Troubleshooting blank screens in Windows — Microsoft Support
- Dell Display Pixel Guidelines — Dell Support
Ready to Test Your Monitor?
Use our professional dead pixel tester to check your screen for dead pixels, stuck pixels, and display uniformity issues.
Start Dead Pixel Test