Home Hardware Diagnostic Checklist: Test Before You Repair or Return
A repeatable checklist for isolating display, keyboard, mouse, controller, audio, and camera problems before repair, replacement, or a warranty claim.
The HardwareTest.org Editorial Team maintains the site's browser-based diagnostics and troubleshooting guides. We verify tool interfaces and reproduction steps in current browsers, document what a browser can and cannot measure, add original screenshots, and link technical claims to primary sources.
Reproducible review
How we checked this guide
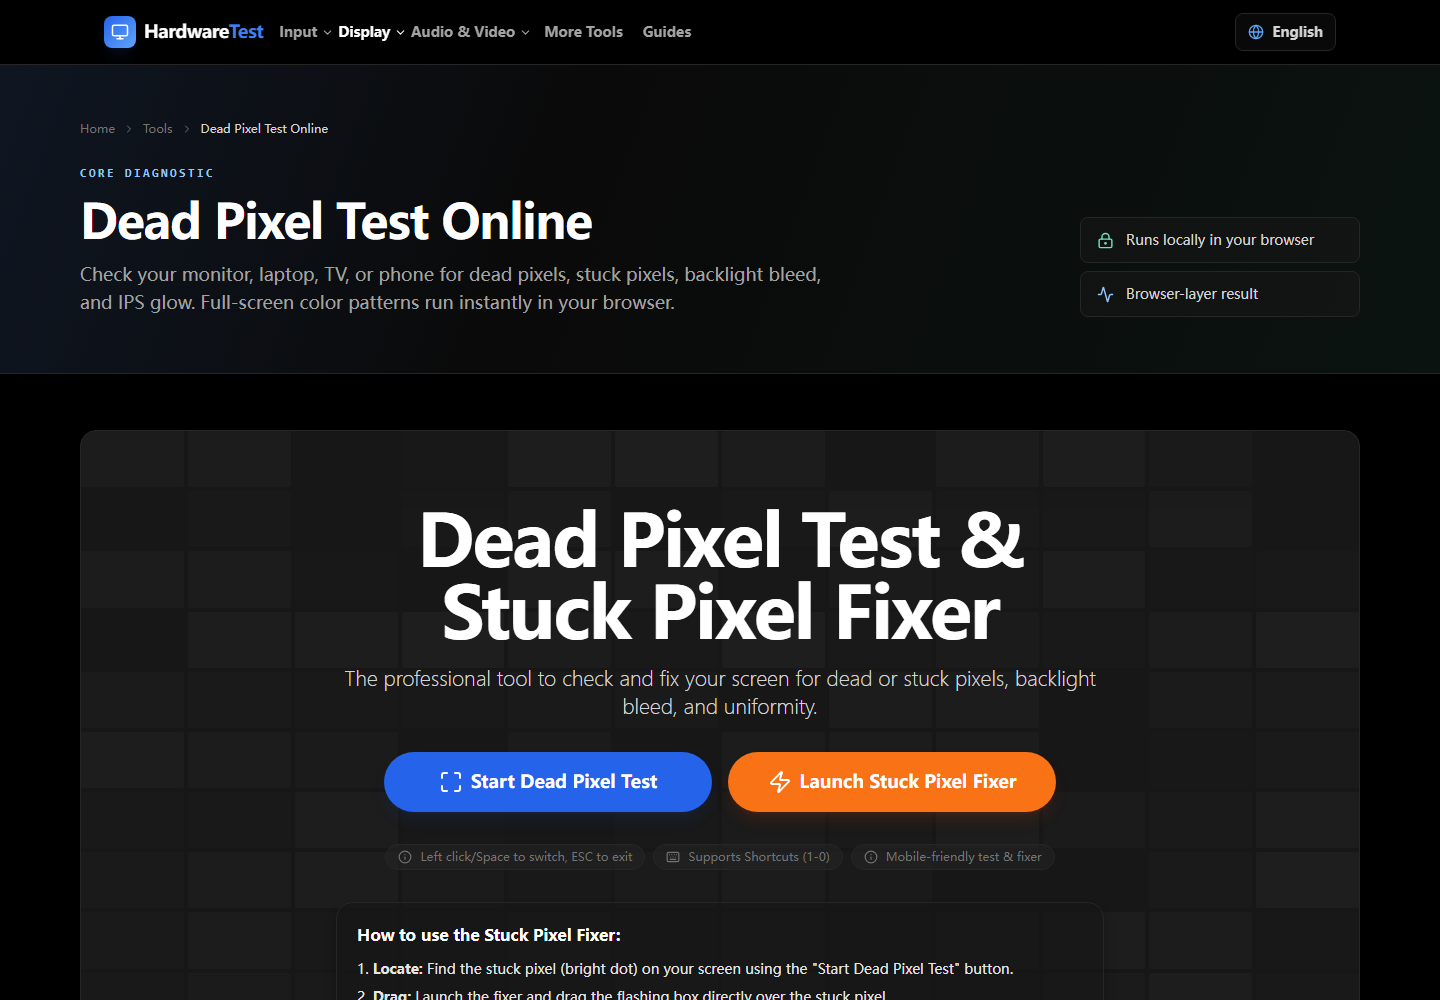
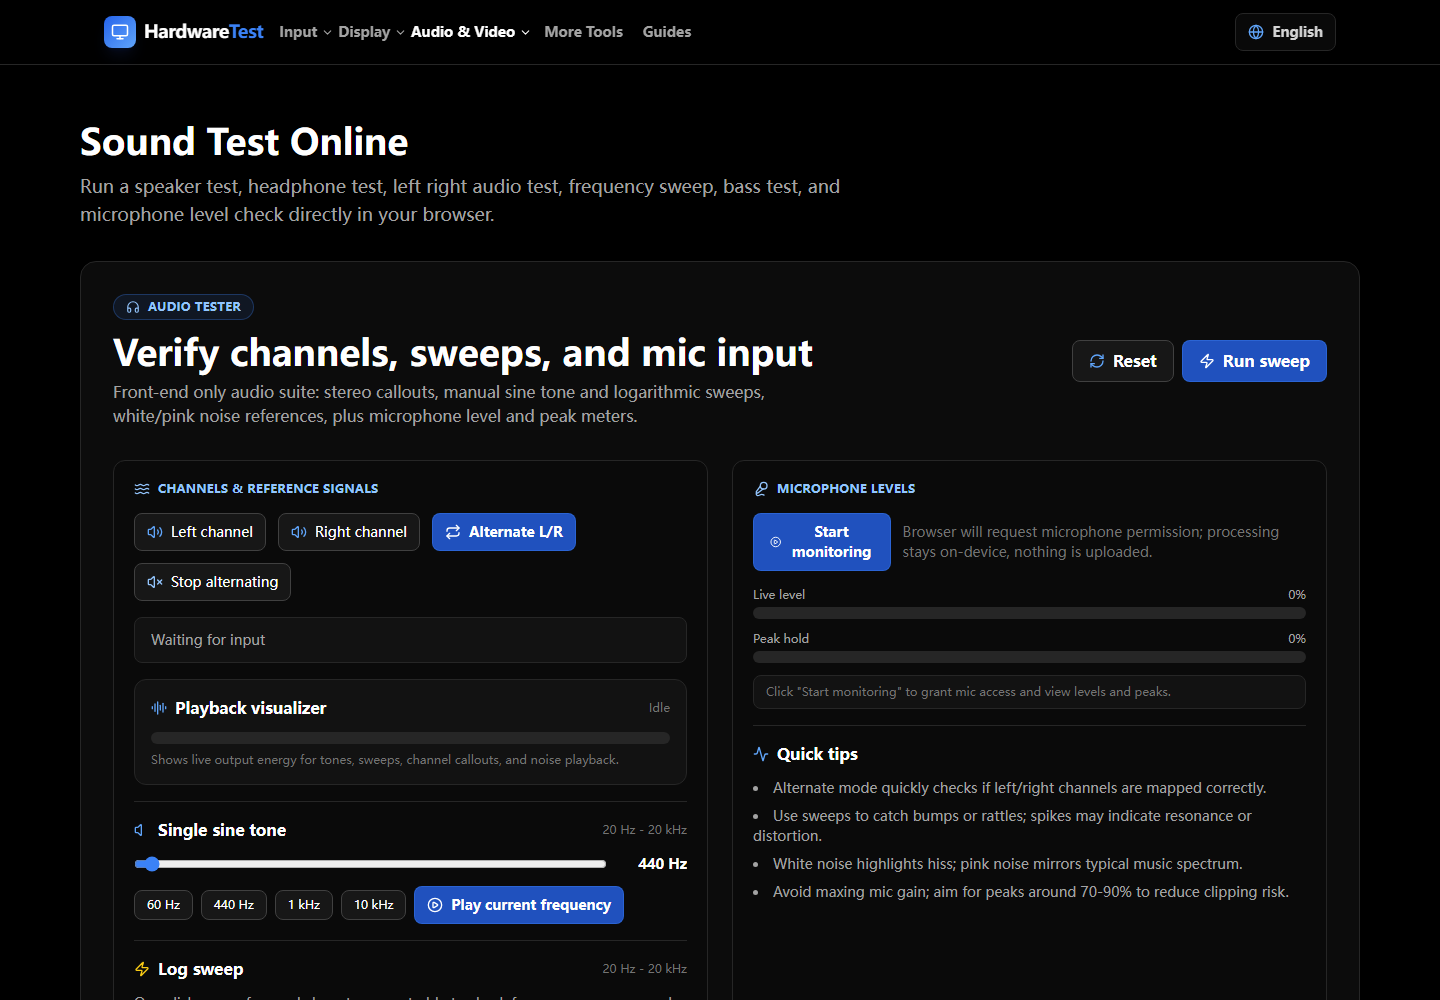
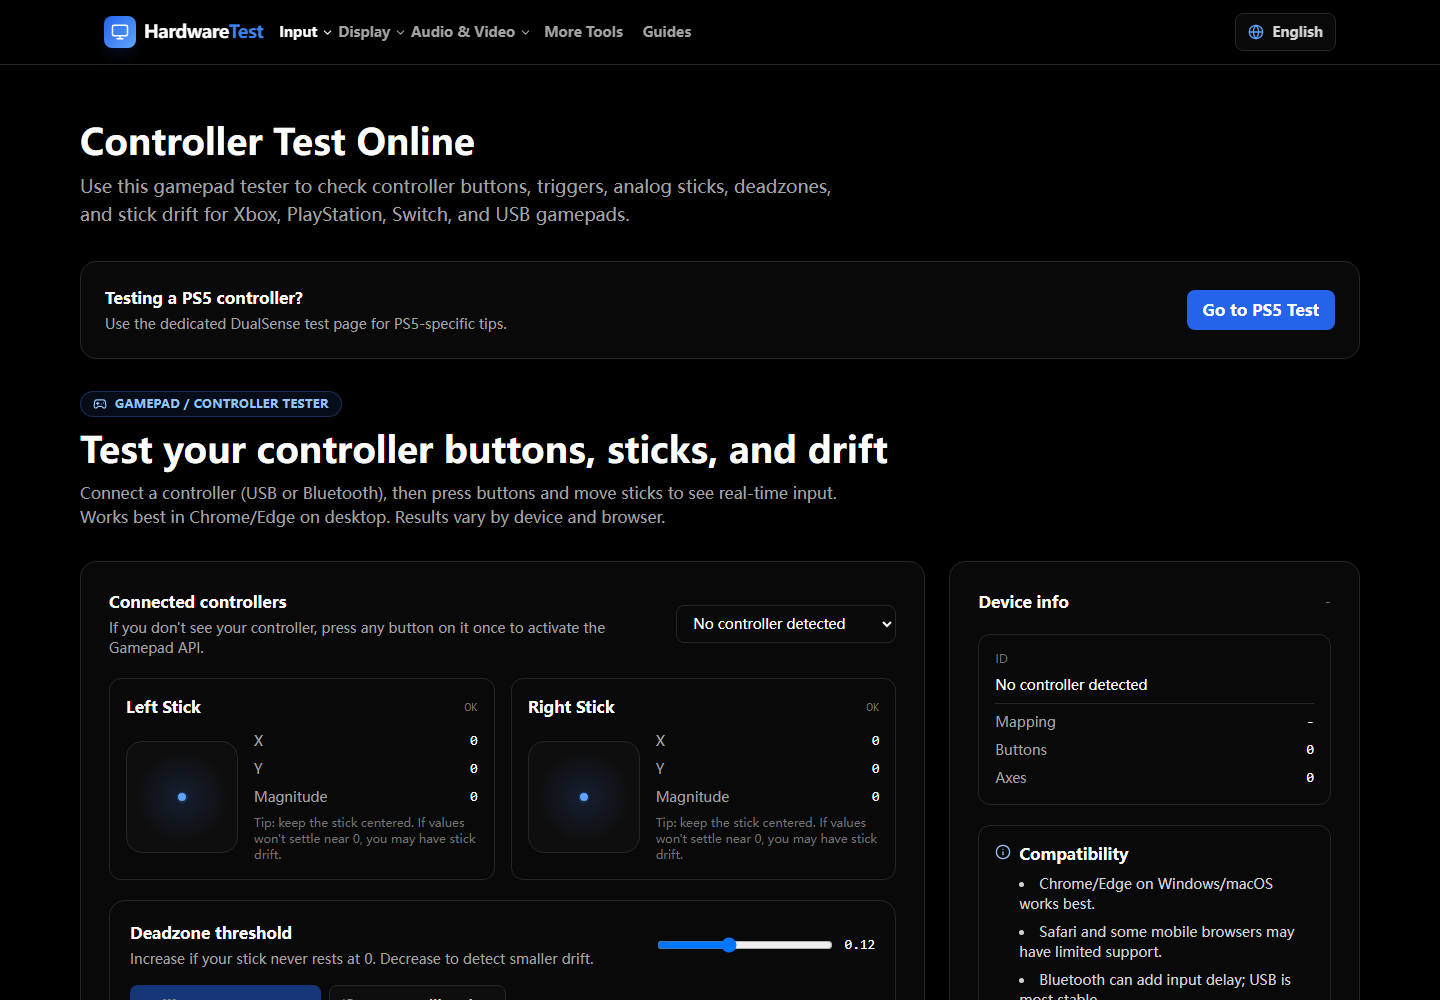
We reviewed current display, audio, and controller workflows to build a cross-device checklist. Screenshots show the browser-visible checks and do not replace electrical safety testing, calibrated measurement, or manufacturer warranty inspection.
- Checked
- July 26, 2026
- Environment
- Desktop screenshots: Microsoft Edge 150.0.4078.83 · Windows desktop build 10.0.26200 · Desktop viewport: 1440 x 1000 · Responsive screenshots: current Chrome with a 390 x 844 viewport override
When a monitor, keyboard, mouse, controller, microphone, speaker, or webcam behaves badly, the fastest response is often to change several things at once. That can make the symptom disappear, but it does not tell you what failed. A useful diagnosis follows a fixed order, changes one variable at a time, and records enough evidence to support the next decision.
This checklist is designed for a home, office, shop counter, or return-window inspection. It uses browser tests for screening and comparison, then adds operating-system and second-device checks. Read the browser hardware testing methodology for the measurement limits behind each step.
Before you start
Create a short test record with:
- exact brand and model;
- purchase date and return deadline;
- operating system and browser;
- cable, adapter, hub, receiver, and port in use;
- relevant firmware, profile, resolution, refresh rate, or audio setting;
- when the symptom started and whether it is constant or intermittent.
If the device is new, preserve packaging and do not open, press, heat, spray, or disassemble it before checking the seller's rules. A reversible comparison is safer than a physical “fix.” Stop any test that produces excessive heat, smell, smoke, sparking, painful sound, battery swelling, or an unstable power connection.
Step 1: Write a precise symptom
Replace a general complaint with an observable statement.
| General complaint | Testable statement |
|---|---|
| The monitor looks bad | A dark point stays at the same screen coordinate on white, red, green, and blue |
| The keyboard misses keys | The E key fails in the browser and a text editor, while nearby keys work |
| The mouse feels slow | Pointer events fall sharply only in Bluetooth mode, not with the receiver |
| The controller drifts | The left-stick X axis rests outside the center range without touch |
| The microphone is broken | The selected microphone shows no level in both the browser and OS input meter |
The statement determines which test to run and what would disprove the first theory.
Step 2: Check power, connection, and selection
Before measuring anything, inspect the basic signal path:
- Confirm the device has power and sufficient battery.
- Reseat the cable without forcing the connector.
- Remove unnecessary hubs, docks, adapters, and extension cables.
- Select the intended device in the operating system and browser permission prompt.
- Check physical mute, input-source, profile, function-lock, and game-mode controls.
- Keep a known-good cable or port available for the comparison pass.
Many “hardware” failures are selection problems. A webcam test may open the laptop camera instead of the USB camera. Channel audio may be routed to a monitor. A high-refresh display may still be configured at 60Hz. Write down the selected device rather than assuming the system chose correctly.
Step 3: Run the focused browser test twice
Choose the smallest relevant tool from the hardware test directory. Keep the tab visible and follow the on-page instructions. Run the same test twice before changing anything.
Two matching runs establish a basic baseline. Two very different runs are also useful: they show the symptom is intermittent or the test environment is unstable. Do not average away a dropout, disconnect, crash, or fixed visual defect.
Capture the useful evidence:
- a screenshot for settings, axes, permissions, and timing summaries;
- a photo for physical display defects, because a screenshot cannot contain a panel defect;
- a short note for sound, intermittent input, fan behavior, or disconnects;
- the time into the test when a crash or slowdown occurred.
Step 4: Change one variable
Use a comparison that targets the suspected layer:
| Change | What it helps separate |
|---|---|
| Another browser | Browser permission, extension, event, or graphics path |
| Direct port instead of hub | Hub power, bandwidth, cable, or adapter |
| Another known-good cable | Cable versus device port |
| Wired instead of Bluetooth | Radio, battery, interference, or Bluetooth profile |
| Another computer or phone | Original system versus device |
| Another input on the display | Panel versus source/cable/graphics path |
| Default device profile | Remapping, macro, overclock, or vendor software |
Repeat the same two runs after the one change. If you change several variables, restart the comparison with a clean baseline before drawing a conclusion.
Display checklist
For a mark, flicker, wrong refresh rate, uneven field, or motion problem:
- Clean the screen with the manufacturer-recommended method.
- Use native resolution and confirm the intended refresh mode in the OS.
- Open the Dead Pixel Test and inspect white, black, red, green, and blue.
- Use a camera photo for a fixed physical mark; take it in normal room light and include enough screen area to show location.
- Check another cable, input, and source device.
- For uneven brightness or tint, repeat at the normal viewing position and brightness.
- For missing high-refresh modes, verify the exact bandwidth supported by the GPU, port, cable, dock, and monitor input.
A mark that remains at the same physical location across colors and source devices is more likely to be in the panel. A mark visible inside a software screenshot on another display comes from rendered content or the graphics path, not the first panel.
Keyboard, mouse, and controller checklist
For missing keys, double input, inconsistent movement, low event rate, or stick drift:
- Click inside the tester so the page has focus.
- Compare the same input in a text editor, OS viewer, or game-controller settings panel.
- Disable macros, remapping, game mode, and unusual device profiles temporarily.
- Connect directly and test a second port.
- Charge the device and compare wired, Bluetooth, and dedicated-receiver modes when available.
- For combinations, test individual inputs first, then add keys or buttons one at a time.
- For drift, release the stick gently and repeat after reconnecting; do not force calibration values to hide a mechanical problem.
System shortcuts and browser-reserved keys may never reach a page. A key that fails only in one browser is not yet evidence of a broken switch. A physical input that fails everywhere, including another computer, is much stronger hardware evidence.
Audio, microphone, and camera checklist
For silence, the wrong channel, no microphone level, a black camera view, or low delivered quality:
- Confirm the browser has permission for the intended site and device.
- Select the exact input or output instead of “default” when the interface allows it.
- Check the operating-system volume mixer, input meter, privacy settings, and physical mute controls.
- Close conferencing, streaming, recording, and virtual-camera software that may hold the device.
- Test another browser, then another port or cable.
- For cameras, improve room light before evaluating frame rate or noise.
- For audio channels, keep volume at a comfortable level and never use a loud test to diagnose hearing.
The browser receives the stream negotiated by the system. A 1080p camera can deliver 720p because of light, bandwidth, active software, or constraints. Record both the advertised capability and the delivered stream without assuming one bad session proves a sensor failure.
Decide: configure, monitor, return, or repair
Use the evidence to choose the least risky next action.
Reconfigure when the symptom follows a browser, permission, profile, power mode, selected device, resolution, refresh setting, or software path.
Monitor when the result is within normal browser variation, cannot be repeated, and does not affect real use. Keep the baseline so you can compare if it becomes worse.
Return or contact the seller when a new device has a repeatable physical defect, advertised mode cannot be demonstrated with a compatible setup, or the product is unstable during its return window. Seller return terms are often simpler than a later warranty claim.
Request warranty or repair when the same defect persists across known-good cables, ports, browsers, settings, and a second compatible device. Provide the model, serial number when requested privately, purchase record, test conditions, photos or screenshots, and the exact comparison that isolated the device.
Final handoff record
Before contacting support, assemble one concise summary:
Model and connection: [device, cable, port]. Symptom: [observable failure]. Baseline: [two repeated results]. Comparison: [one changed variable and result]. Cross-check: [second browser, system tool, or computer]. Evidence: [photo or screenshot]. Safety and return status: [no physical modification; return deadline].
This format helps support reproduce the issue and reduces repeated basic questions. More importantly, it prevents an online test from being treated as proof of something it cannot inspect. The goal is not to collect the most scores; it is to make the next decision with the smallest amount of uncertainty.
Primary sources
Technical claims are checked against the following vendor or platform documentation.
- Fix sound or audio problems in Windows — Microsoft Support
- Camera doesn’t work in Windows — Microsoft Support
- Change the refresh rate on your monitor in Windows — Microsoft Support
- MediaDevices: getUserMedia() method — MDN Web Docs
Ready to Test Your Monitor?
Use our professional dead pixel tester to check your screen for dead pixels, stuck pixels, and display uniformity issues.
Start Dead Pixel Test